Table of Contents
Introduction : VM-GenerationID
One of the obvious reasons for virtualization is the independence of virtual machines from hardware. It is very simple to clone
a Virtual Machine (VM) in a virtualized infrastructure.
But can we clone any VM?
It’s not easy to answer this question. The smart answer, as usual, would be: "It depends".
Before the 2012 version of Windows Server, cloning a VM hosting AD DS (Active Directory Domain Services) was forbidden. Indeed, cloning or restoring
a
Domain Controller could cause a "USN rollback".
One of the major benefits introduced in Microsoft Windows 2012 Server is the VM-GenerationID.
The ID is an identifier encoded in 128 bits and provided by the hypervisor through a specific driver.
You can check inside a VM if you’ll be able to clone a Domain Controller. Let’s explore the device manager of a VM hosted by Hyper-V hypervisor
running on a Windows 8 machine. You can see below how this test lab was created.
If you see the device "Microsoft Hyper-V Generation Counter", your hypervisor will be able to manage the VM-GenerationID and you will be able to clone a Domain Controller.

The VM-GenerationID is generated and stored on the Domain Controller as an attribute of the Active Directory database. This attribute is not replicated.
The VM-GenerationID is recorded in the Active Directory database NTDS.dit as the attribute msDS-GenerationID.
You can see it by logging on the DC you want to check and display its attributes. You can easily do this via ADUC or ADAC.

1) Prerequisites
For it to be cloned a DC should meet the following prerequisites:
- As mentioned above, your hypervisor must support VM-GenerationID. It is the case with Hyper-V running on Windows 8 and on Windows Server 2012
- The DC source must be running on Windows Server 2012
- The DC source cannot host the PDC emulator role. In addition, the DC which hosts this role must be available and must be running on Windows Server 2012
However, you must have at least two DCs in your infrastructure to begin cloning a DC.
2) Prepare the source DC
The first with the ADAC or even ADUC.


Add-ADGroupMember "Cloneable Domain Controllers" "CN=DC02,OU=Domain Controllers,DC=LABO,DC=COM" OK, our source DC is now a member of the security group "Cloneable Domain Controllers". Let’s continue preparing it.
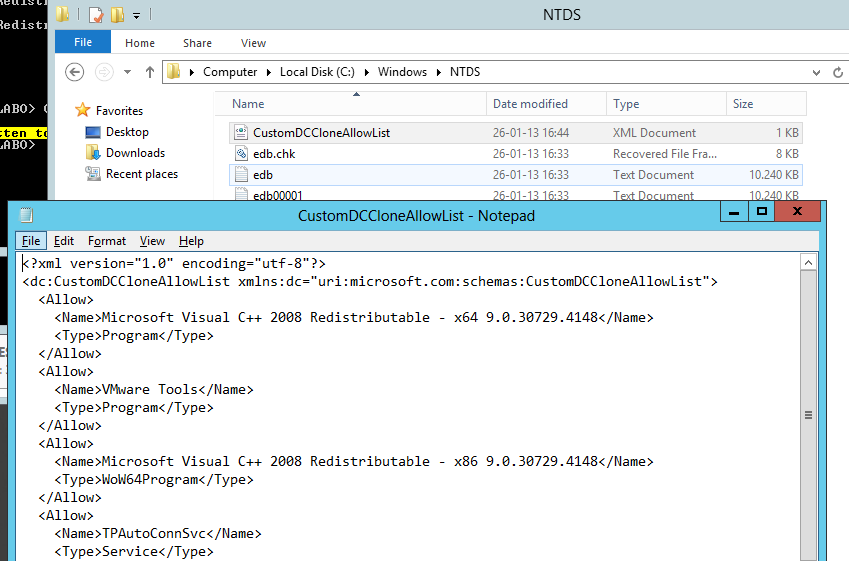
TechNet tells us that we need to launch the first command before starting the cloning process. Indeed, we need to determine what programs and services are not present on the default supported list "DefaultDCCloneAllowList.xml" or a user-defined inclusion list named "CustomDCCloneAllowList.xml" and therefore not supported by the cloning process because it has not been evaluated for cloning impact.
Get-ADDCCloningExcludedApplicationList 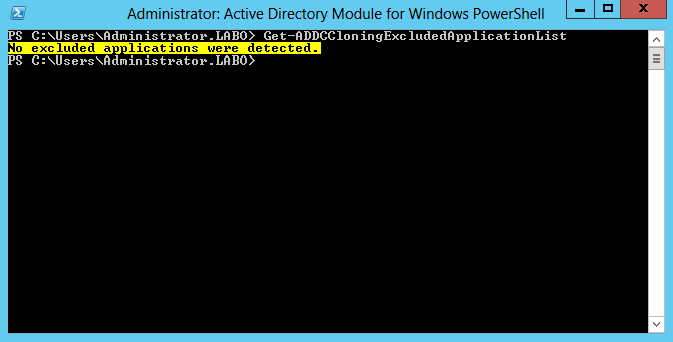
The result of the command is pretty clear in this case: "No excluded applications were detected". At this stage, we can proceed; however, in some cases, you need to run the second command to generate your own .xml file containing the list of applications or services you want to add (because supported).
Here is an example (launched on a lab test running ESXi 5.1).

We type the second command to generate the .xml file.
Get-ADDCCloningExcludedApplicationList -GenerateXml 
To complete the warm-up, we have to launch one last command:
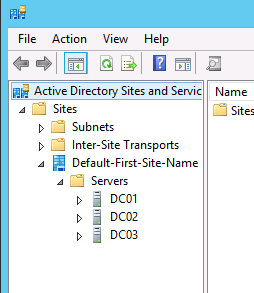
New-ADDCCloneConfigFile -Static -IPv4Address "192.168.1.12" -IPv4DNSResolver "192.168.1.10" -IPv4SubnetMask "255.255.255.0" -CloneComputerName "DC03" -IPv4DefaultGateway "192.168.1.1" -SiteName "Default-First-Site-Name" 
This command will generate a new .xml file: "DCCloneConfig.xml". By entering this command, we have specified the future cloned DC name and its network configuration.

The cloned DC must be on the same site.
Let's edit the configuration file of the DC02 virtual machine:

We find the number "genreration_id" with this hexadecimal value : "5683b796635a6015936e3117daa5b751".
The value for the msDS-GenerationId attribute is 51 B7 A5 DA 17 31 6E 93. By inverting the value found in the xml file of the virtual machine, same value is found: 936e3117daa5b751 -> 51b7a5da17316e93

3) Export of the prepared VM and import in the new VM
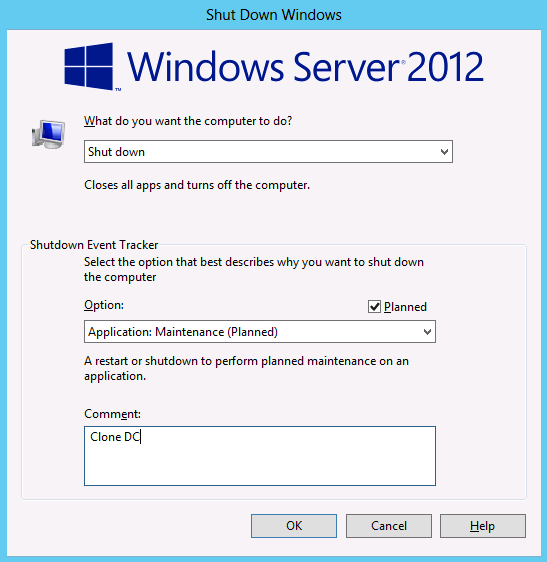
Shut down the DC DC02 we just prepared.

Then, simply specify where you want to export your VM.


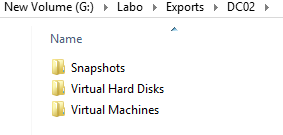

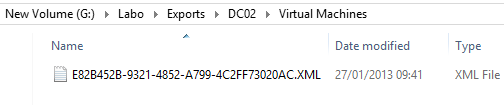
And the .xml configuration file.
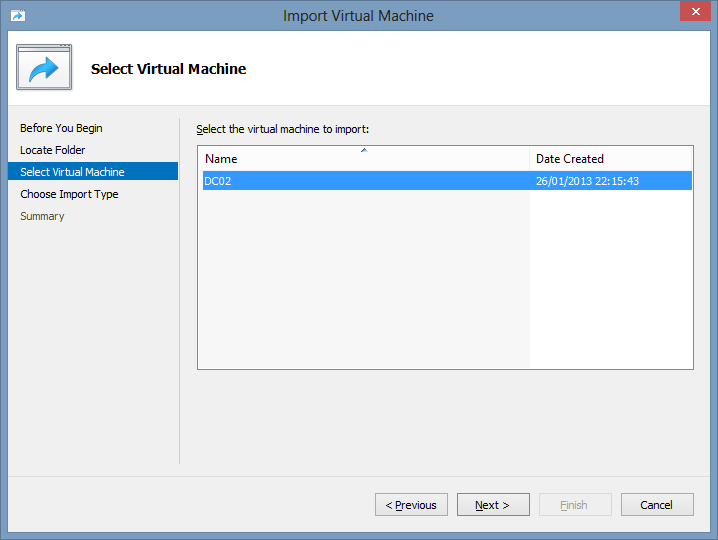
Now let’s move on to the import step. Select your node and "Import Virtual Machine...".


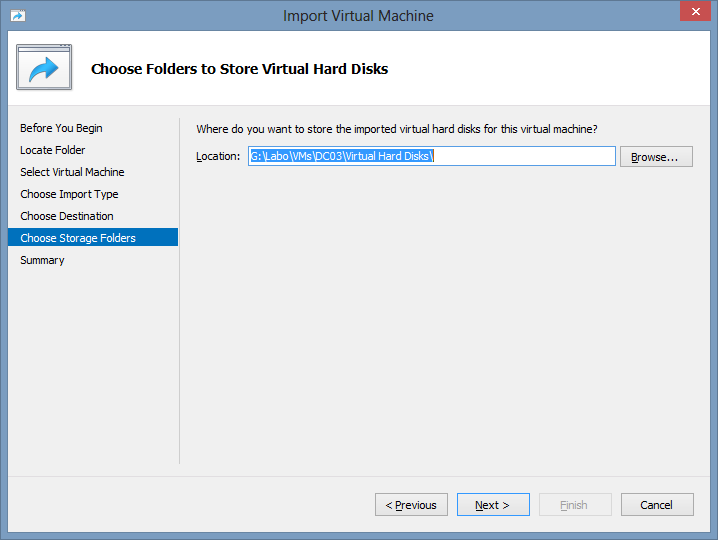
We want Hyper-V to create a new unique ID "Next >".


Done! Check the review of the import and click on "Finish".
Done! Check the review of the import and click on "Finish".


Also located in ADUC and ADAC.


4) Detailed cloning process

5) Cloning went wrong ?
If your cloning goes wrong, the source DC will restart in Directory Service Restore Mode (DSRM). You need to login locally and remove the flag for DSRM mode. Then clone and restart after -obviously- correcting the error that prevented you from properly cloning the source DC.
There are two ways to do this:
There are two ways to do this:


bcdedit.exe /deletevalue safeboot 6) Conclusion
This tutorial is now complete.
We can see the great advantage of the VM-GenerationID addition by Microsoft, as it also opens the way for snapshot DC.
Indeed, before this improvement, cloning a DC could lead to serious inconsistencies in our AD database as shown in this diagram(source).
It is now managed as shown in the following illustration (source).